Watch this video to learn how to make sunspot cookies!
Even when the Sun appears to be shining as brightly as ever to us, it sometimes has some dark spots. They’re called sunspots. They can happen when the magnetic field of the Sun changes slightly in some places. These spots are a little colder and darker than the surrounding area.
The sunspots can last for a few days or even a few months. During that time, they move across the surface of the Sun and change in size, growing and shrinking as they go. But the sunspots eventually go away.
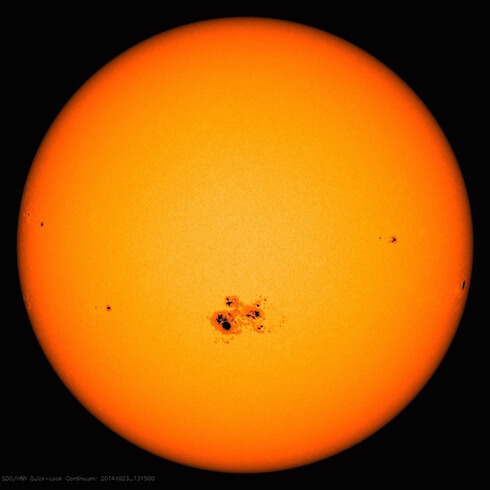
This picture was taken by the NASA Solar Dynamics Observatory. It's a satellite that orbits Earth and takes lots of pictures and measurements of the Sun. You can see the dark sunspots on the surface of the Sun in this picture taken on October 23, 2014.
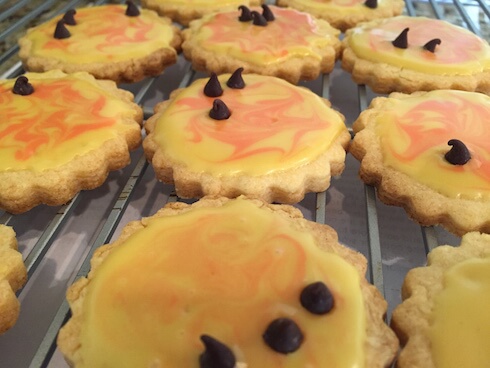
Now you can make Sun cookies with little sunspots on them. Real sunspots aren’t made of chocolate, but on these sunspot cookies they are. And they're delicious.
What you need:
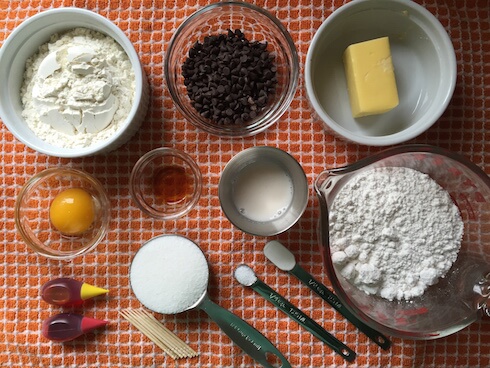
- Your favorite sugar cookie recipe*
- Icing*
- Circular cookie cutter: any size will do; we used one about 2" in diameter
- Rolling pin
- Mini chocolate chips, chocolate sprinkles, or finely chopped chocolate pieces for the sunspots
- Yellow and red food coloring
- Toothpicks
You can use any sugar cookie recipe and icing you would like, but here is a simple recipe that makes one dozen cookies and plenty of icing:
For the cookies:
- 3/4 cup flour, plus extra for rolling out the dough
- 1/2 teaspoon baking powder
- 1/4 teaspoon salt
- 1/4 cup unsalted butter, softened
- 1/4 cup sugar
- 1 egg yolk
- 1/2 teaspoon vanilla
For the icing:
- 1 1/2 cups powdered sugar
- 3-5 teaspoons milk
What to do:
- These steps are for the provided sugar cookie recipe. If you are using your own recipe, you can skip to step 15.
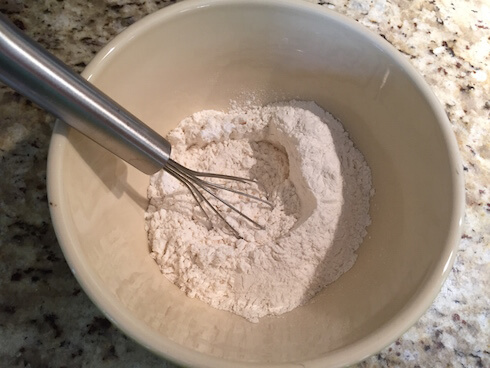
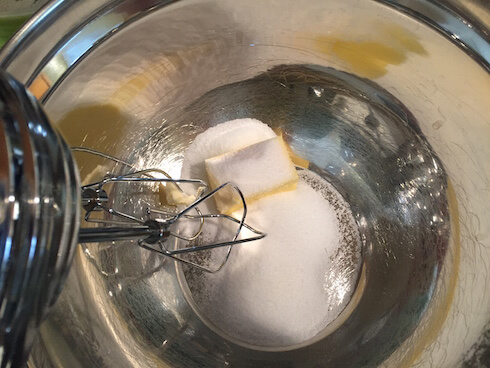
In a small bowl, mix the flour, baking soda, and salt together. - In a big bowl, beat the butter and sugar together with an electric mixer.
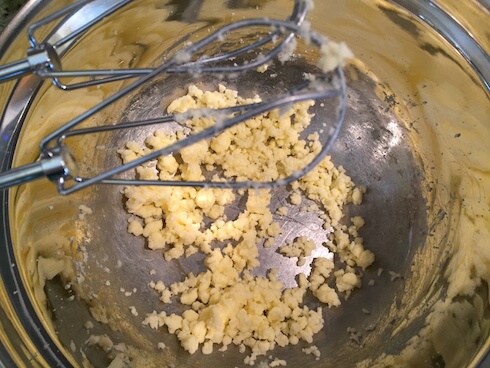
- Beat until the mixture is light and fluffy.
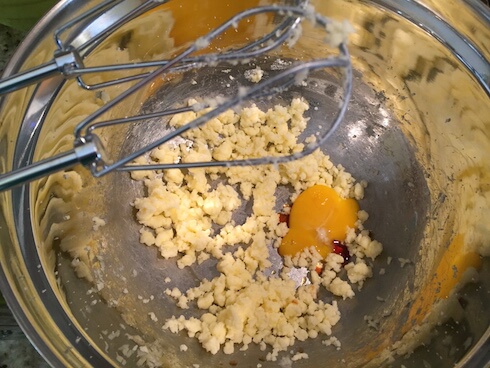
- Add the egg yolk and vanilla extract.
To get just the yolk of the egg, crack the egg in half and let the egg white fall off into a bowl you aren't using. Pass the yolk back and forth between the eggshell halves until all the clear egg whites have fallen away. - Beat until everything is mixed together nicely.
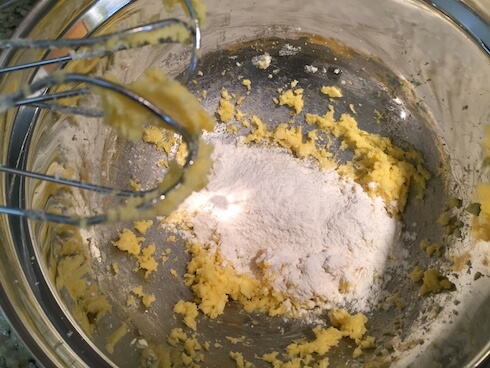
- Sprinkle half the flour mixture over the top, and beat it until combined. Then add the other half of the flour and beat it again.
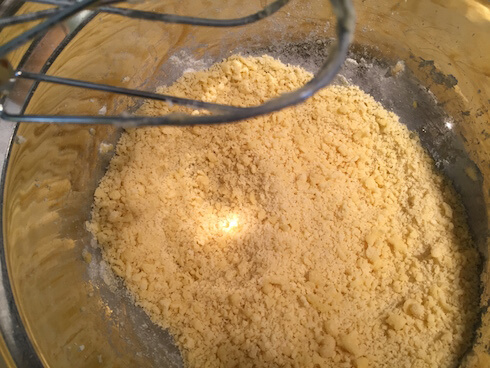
- Once everything is mixed together, stop beating. You don't want to overwork the dough.
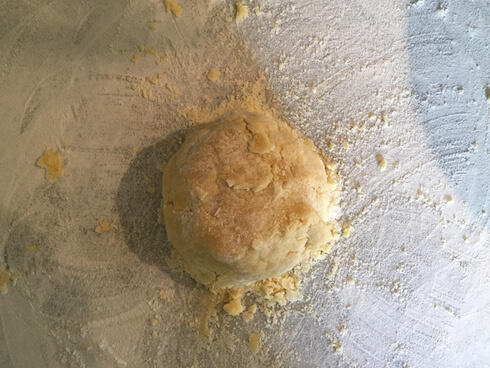
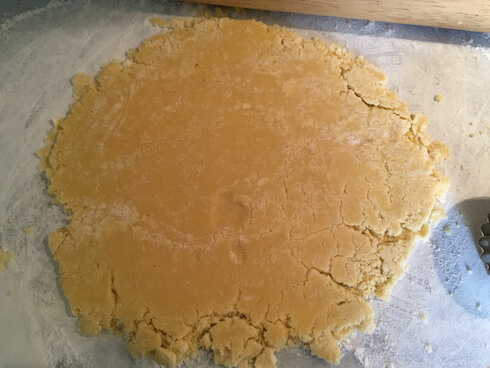
- Sprinkle some flour over the counter or a cutting board. Move your dough onto it and form it into a mound. Don't worry if it feels crumbly. It will come together.
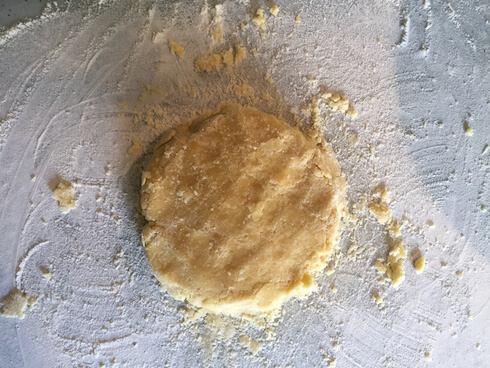
- Smash down your mound down with your hand to flatten it.
- Roll the dough out with a rolling pin until it's about 1/4" thick.
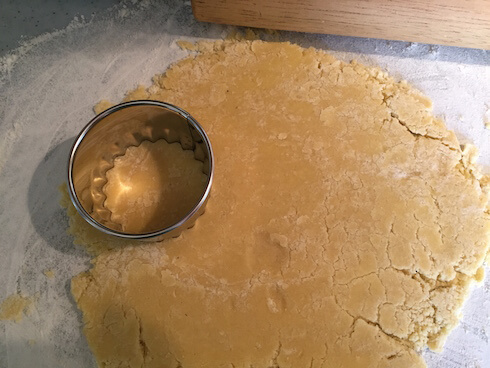
- With your cookie cutter, or the rim of a glass, cut out your Sun shapes.
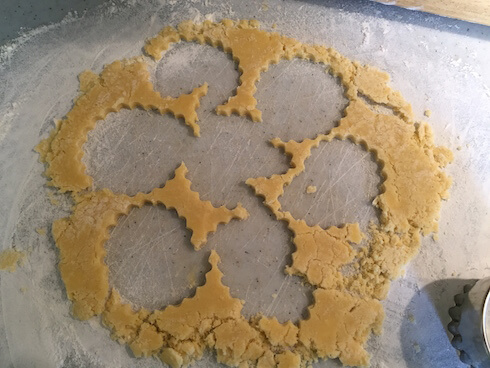
- Cut out as many as you can, then gather the dough and roll it out again. Cut out as many cookies as you can until you've run out of dough.
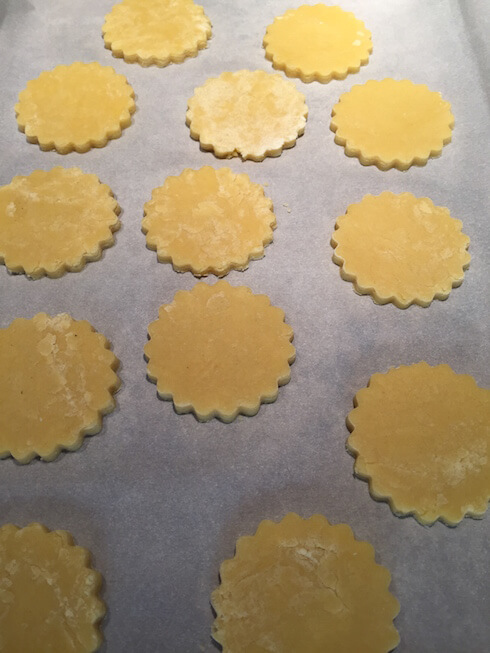
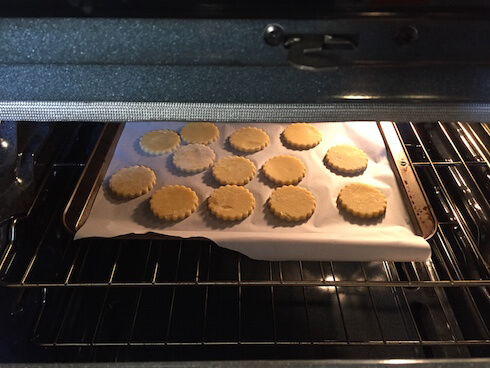
- Place your cookies on parchment paper on a baking sheet and put them in the freezer while your oven preheats to 350 degrees Fahrenheit.
- Move the cookies straight from the freezer into the preheated oven. Bake for 10-12 minutes.
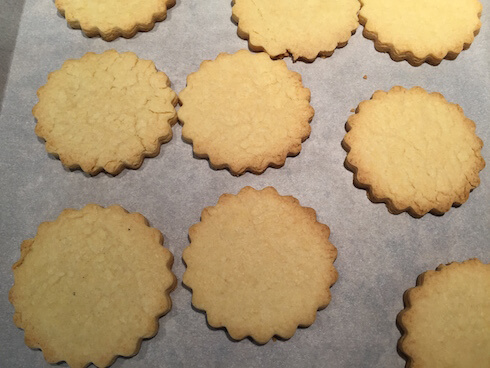
- They'll be just barely browned on the edges when they're done. Let them sit on the hot cookie sheet for a few minutes, then move them to a wire rack to cool completely. This takes about 30 minutes.
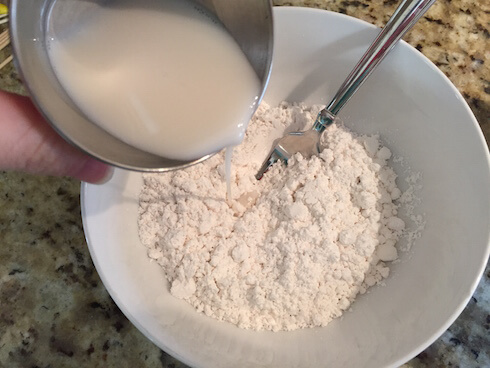
- While the cookies cool, make your icing! Put the powdered sugar in a bowl and add the milk a teaspoon at a time.
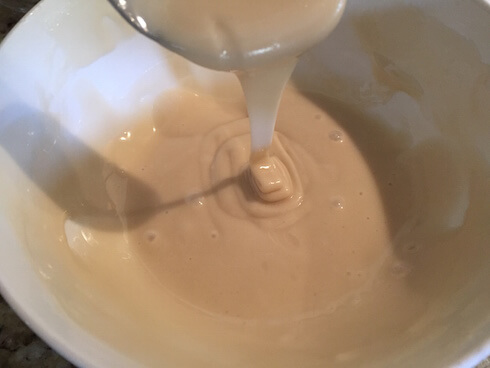
- After adding each teaspoon of milk, stir, stir, stir. If you added too much milk and the icing is too runny, add more powdered sugar. It's a very delicate balance, and it's very easy to add too much milk. You want it to be a nice, thick icing.
- Split your icing between two bowls. Add 3 drops of yellow to the first bowl. Add 2 drops of red and 2 drops of yellow to the second bowl. Now you have your yellow and orange icing.
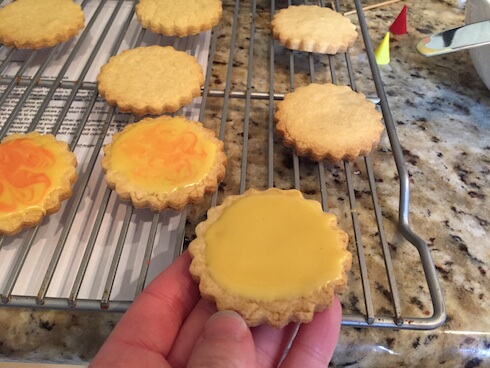
- Now that the cookies are cool, spread yellow icing over the top with a butter knife.
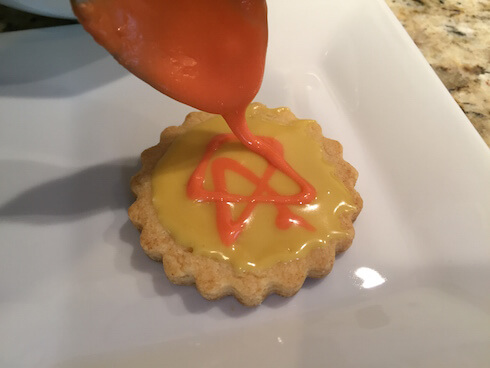
- Before the yellow icing hardens, drip some orange icing on top.
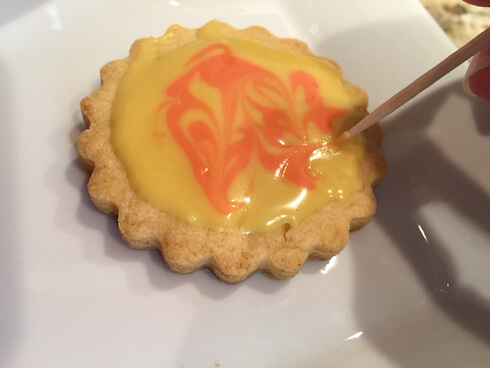
- Use a toothpick to mix the two colors together. Gently drag the toothpick across the top of the cookie.
- Try out different patterns and ways of moving the icing around.
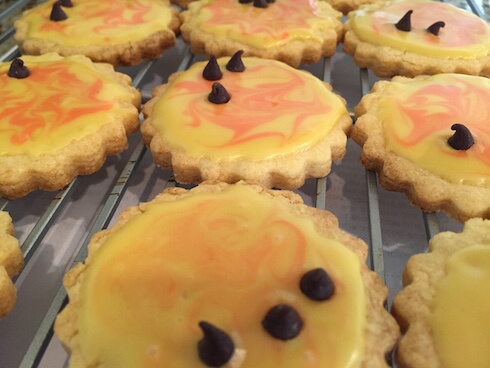
- Place a few chocolate chips, sprinkles, or other small chocolate pieces on top of your cookie. Look at those sunspots!
- Enjoy your delicious sunspot cookies with family and friends. Don't forget to tell them what sunspots are.