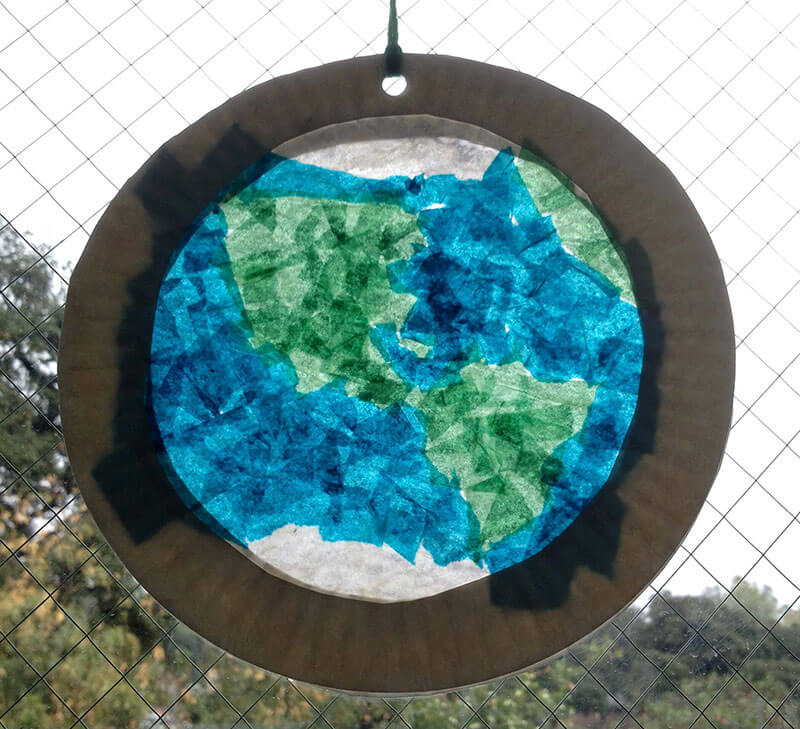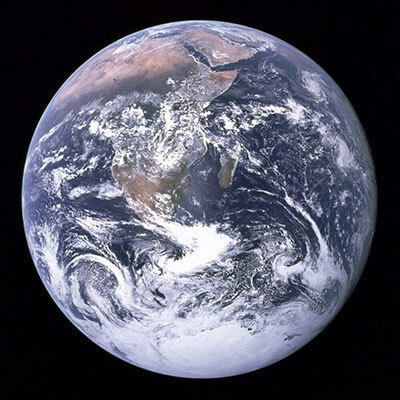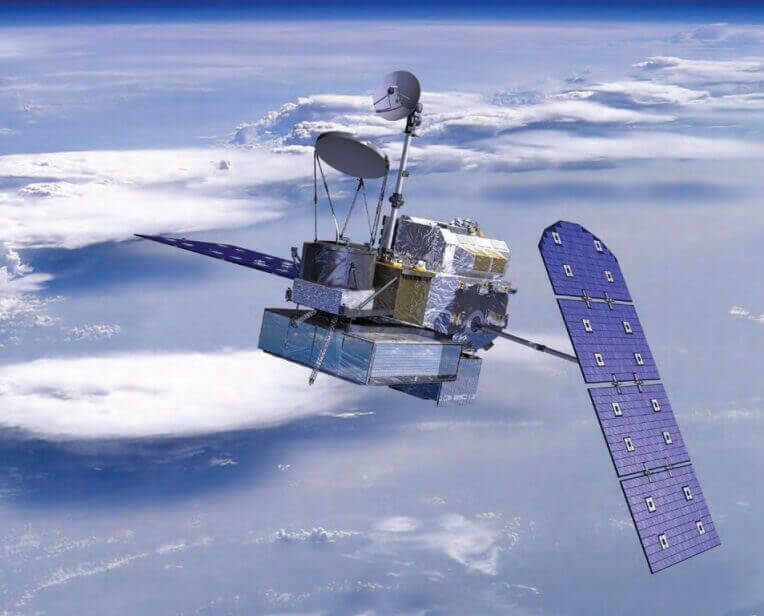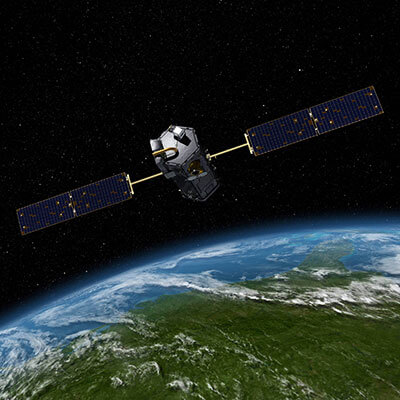
You get to create your own full view of our planet as if it were seen from space—something that was not achieved until the 20th century. Even better, the end result will be a colorful “stained glass” window-style ornament that shows off its bright colors when light shines through!
What you need:
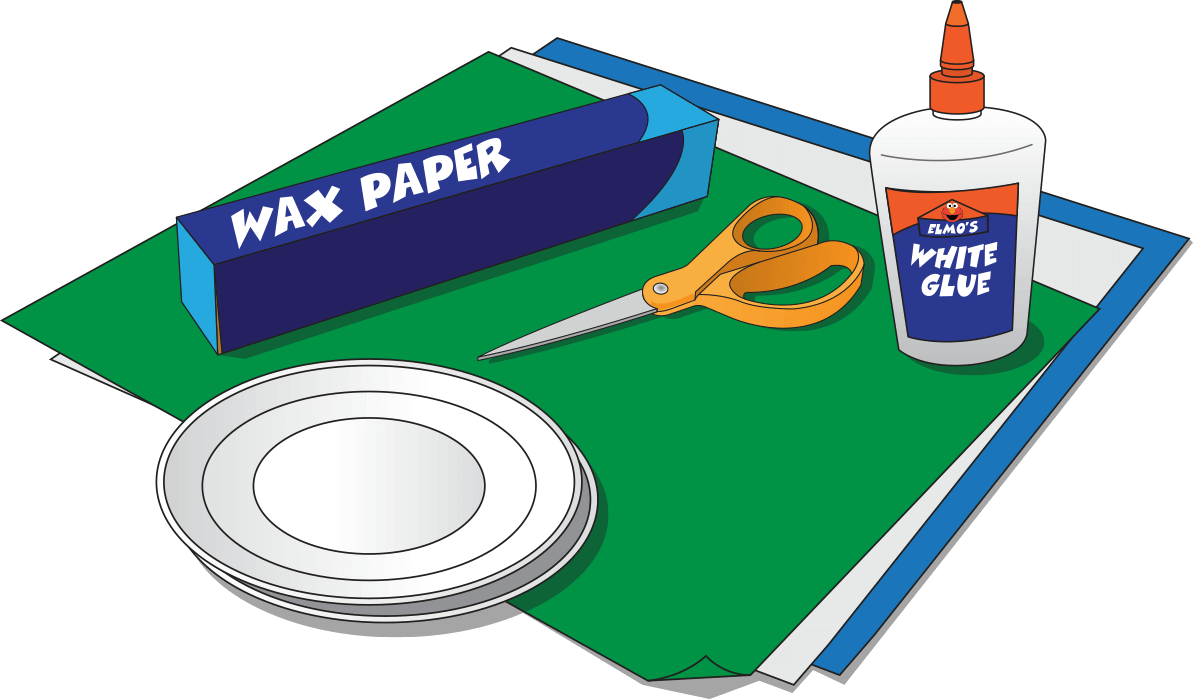
- Two 9” unwaxed paper plates
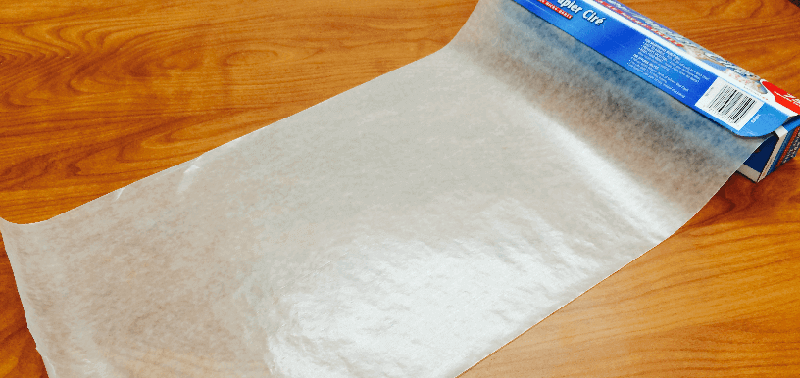
- Roll of wax paper
- White glue
- Blue, green, and white tissue paper sheets
- A printed template of your choice
- Scissors
- A heavy book or box to use as a weight
What to do:
- Download and print your template!
Pick your part of the world! Click the picture and print. - Roll out and cut a roughly 20-inch long piece of wax paper.
- Tear tissue paper into small pieces and spread out pieces on your work surface.
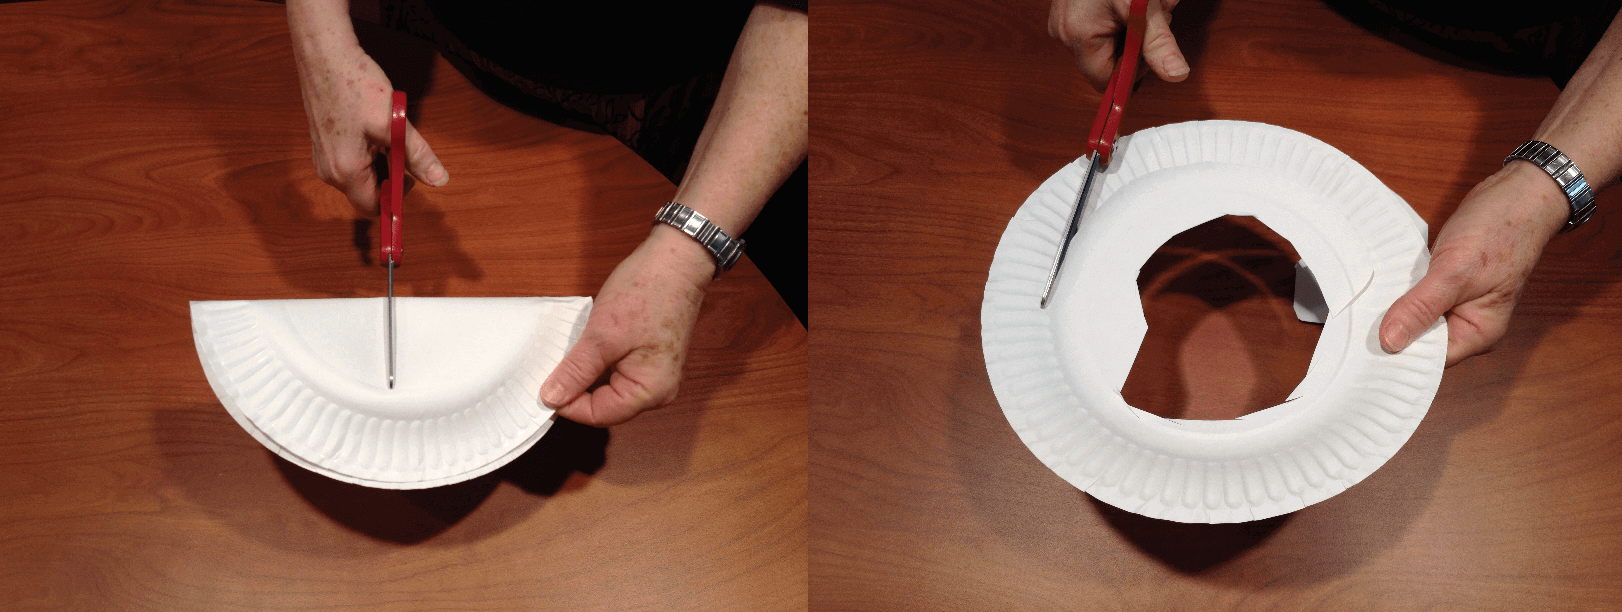
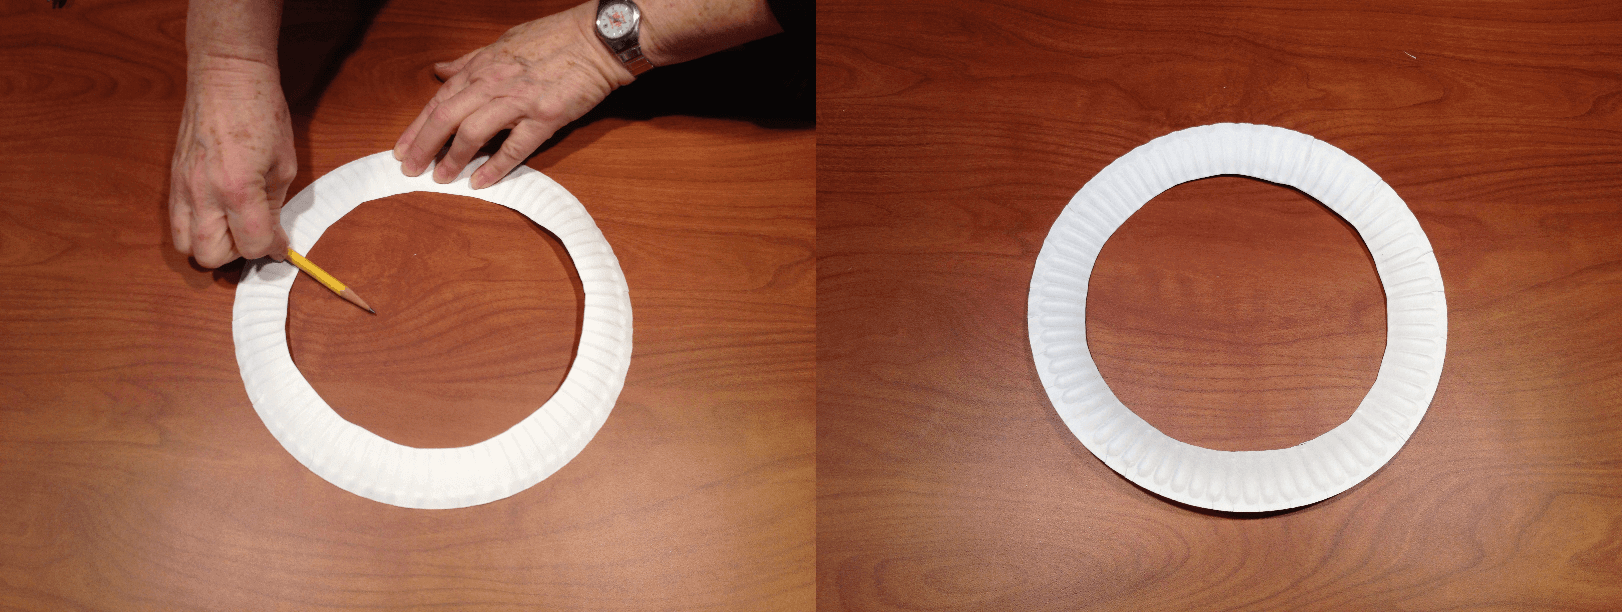
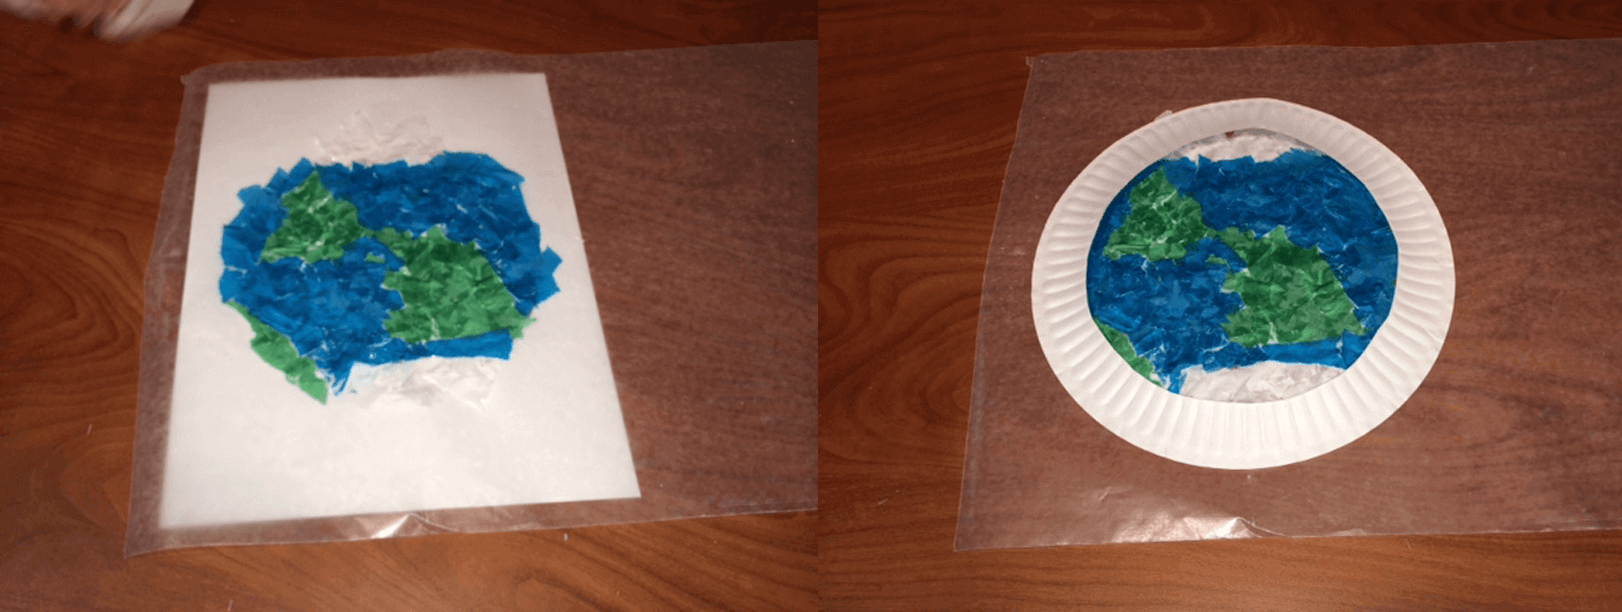
- Make two circular borders using the paper plates.
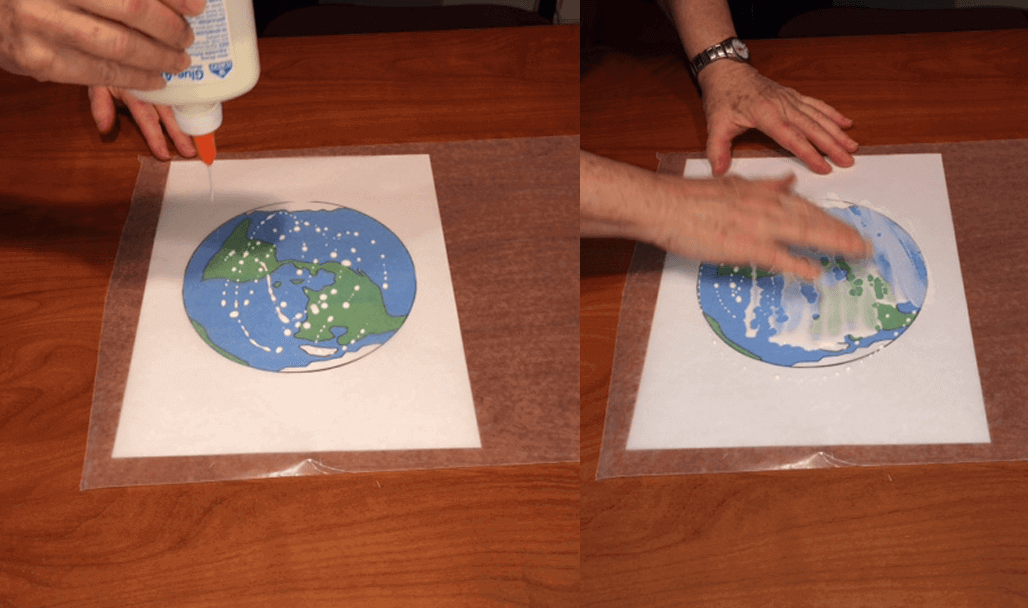
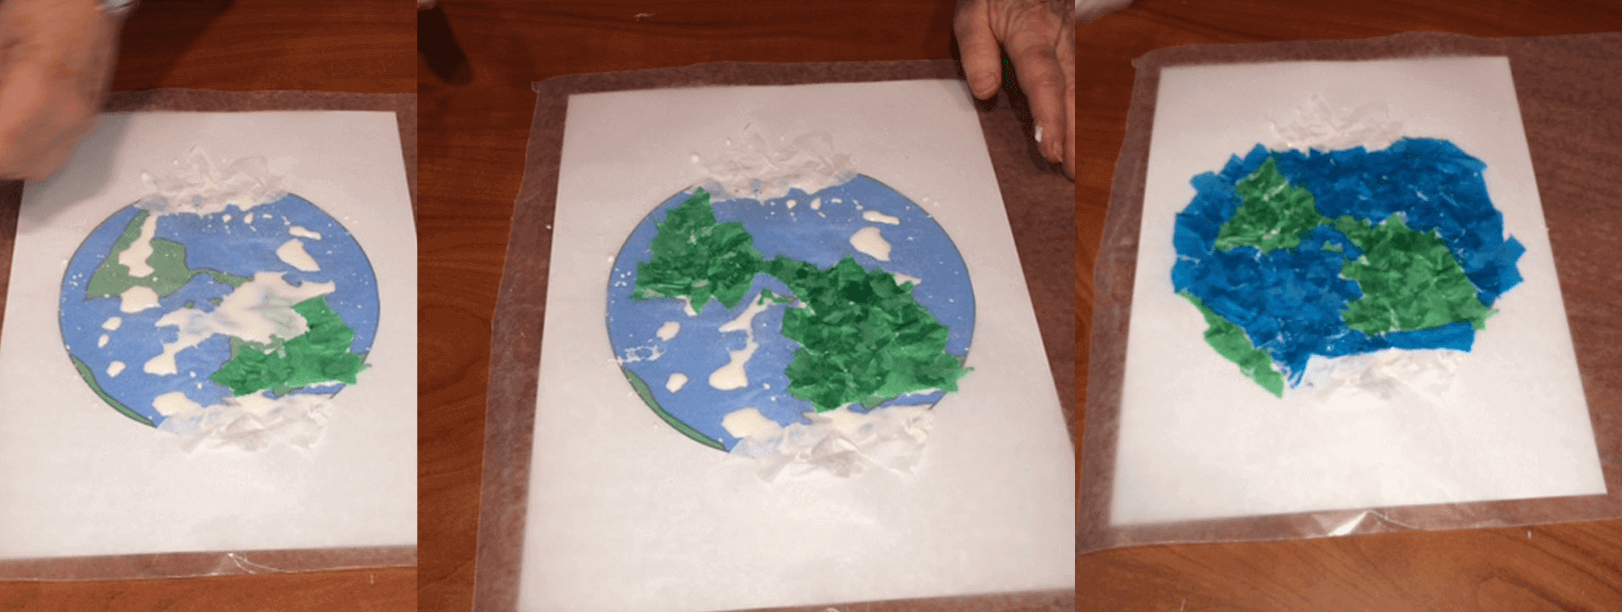
Fold the plate in half, cut a small hole in the center and then cut a larger hole leaving a 1 to 1 1/2 inch border around the edge. Flatten the edges of the paper plate with a pencil. - Place one half of wax paper over the template and apply glue to the top of the wax paper as shown below.
Work in one area at a time, applying glue and torn tissue paper in that particular area. You will have to continue adding glue as you work. - Cover the wax paper with your tissue bits, matching the colors in the pattern.
Use blue for oceans, green for land and white for ice caps. - Apply glue to the first paper plate border and place on top of finished tissue paper layer. Allow it to dry.
- Flip over wax paper and apply second border on the other side.
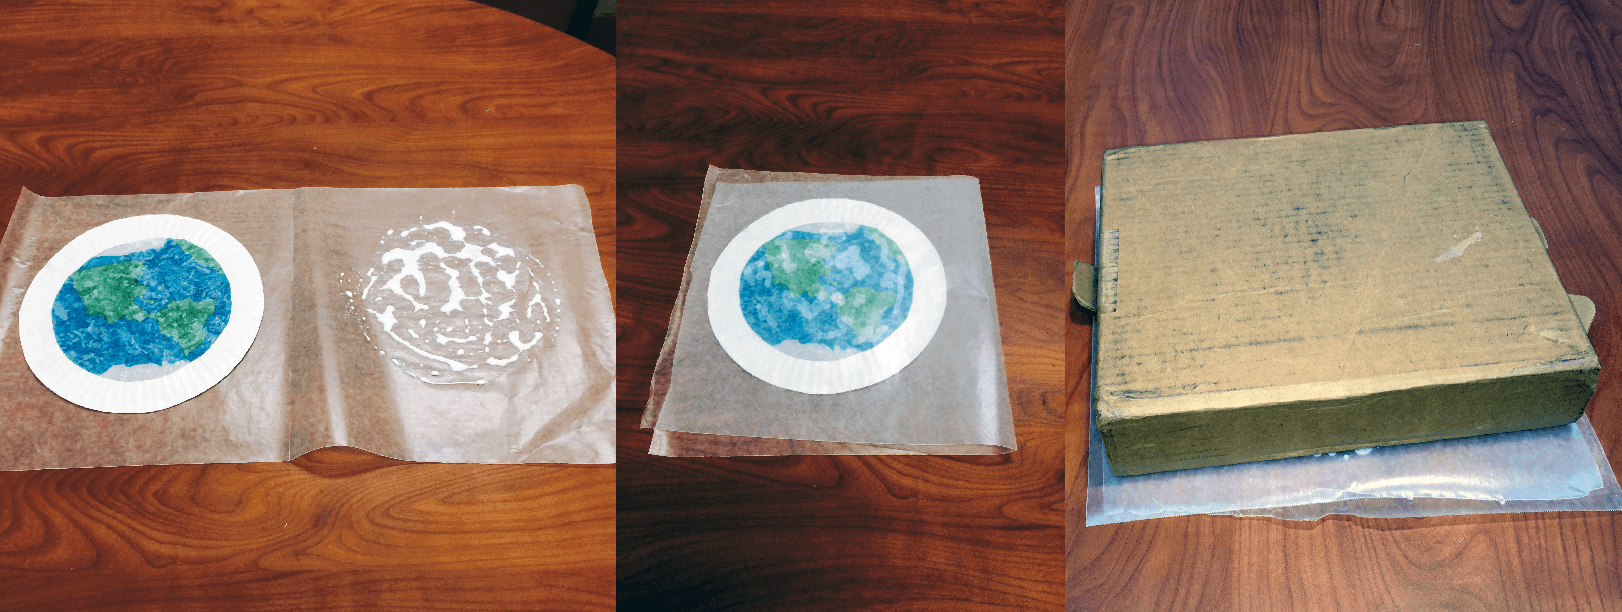
- Flip over again and apply glue to the other half of the wax paper. Then place wax paper over the top of the tissue bits. Place the whole thing under a heavy book or box for 15-20 minutes.
- Remove the weight and allow to dry. Cut the excess wax paper around the border. Punch a hole and hang with yarn or string near light!
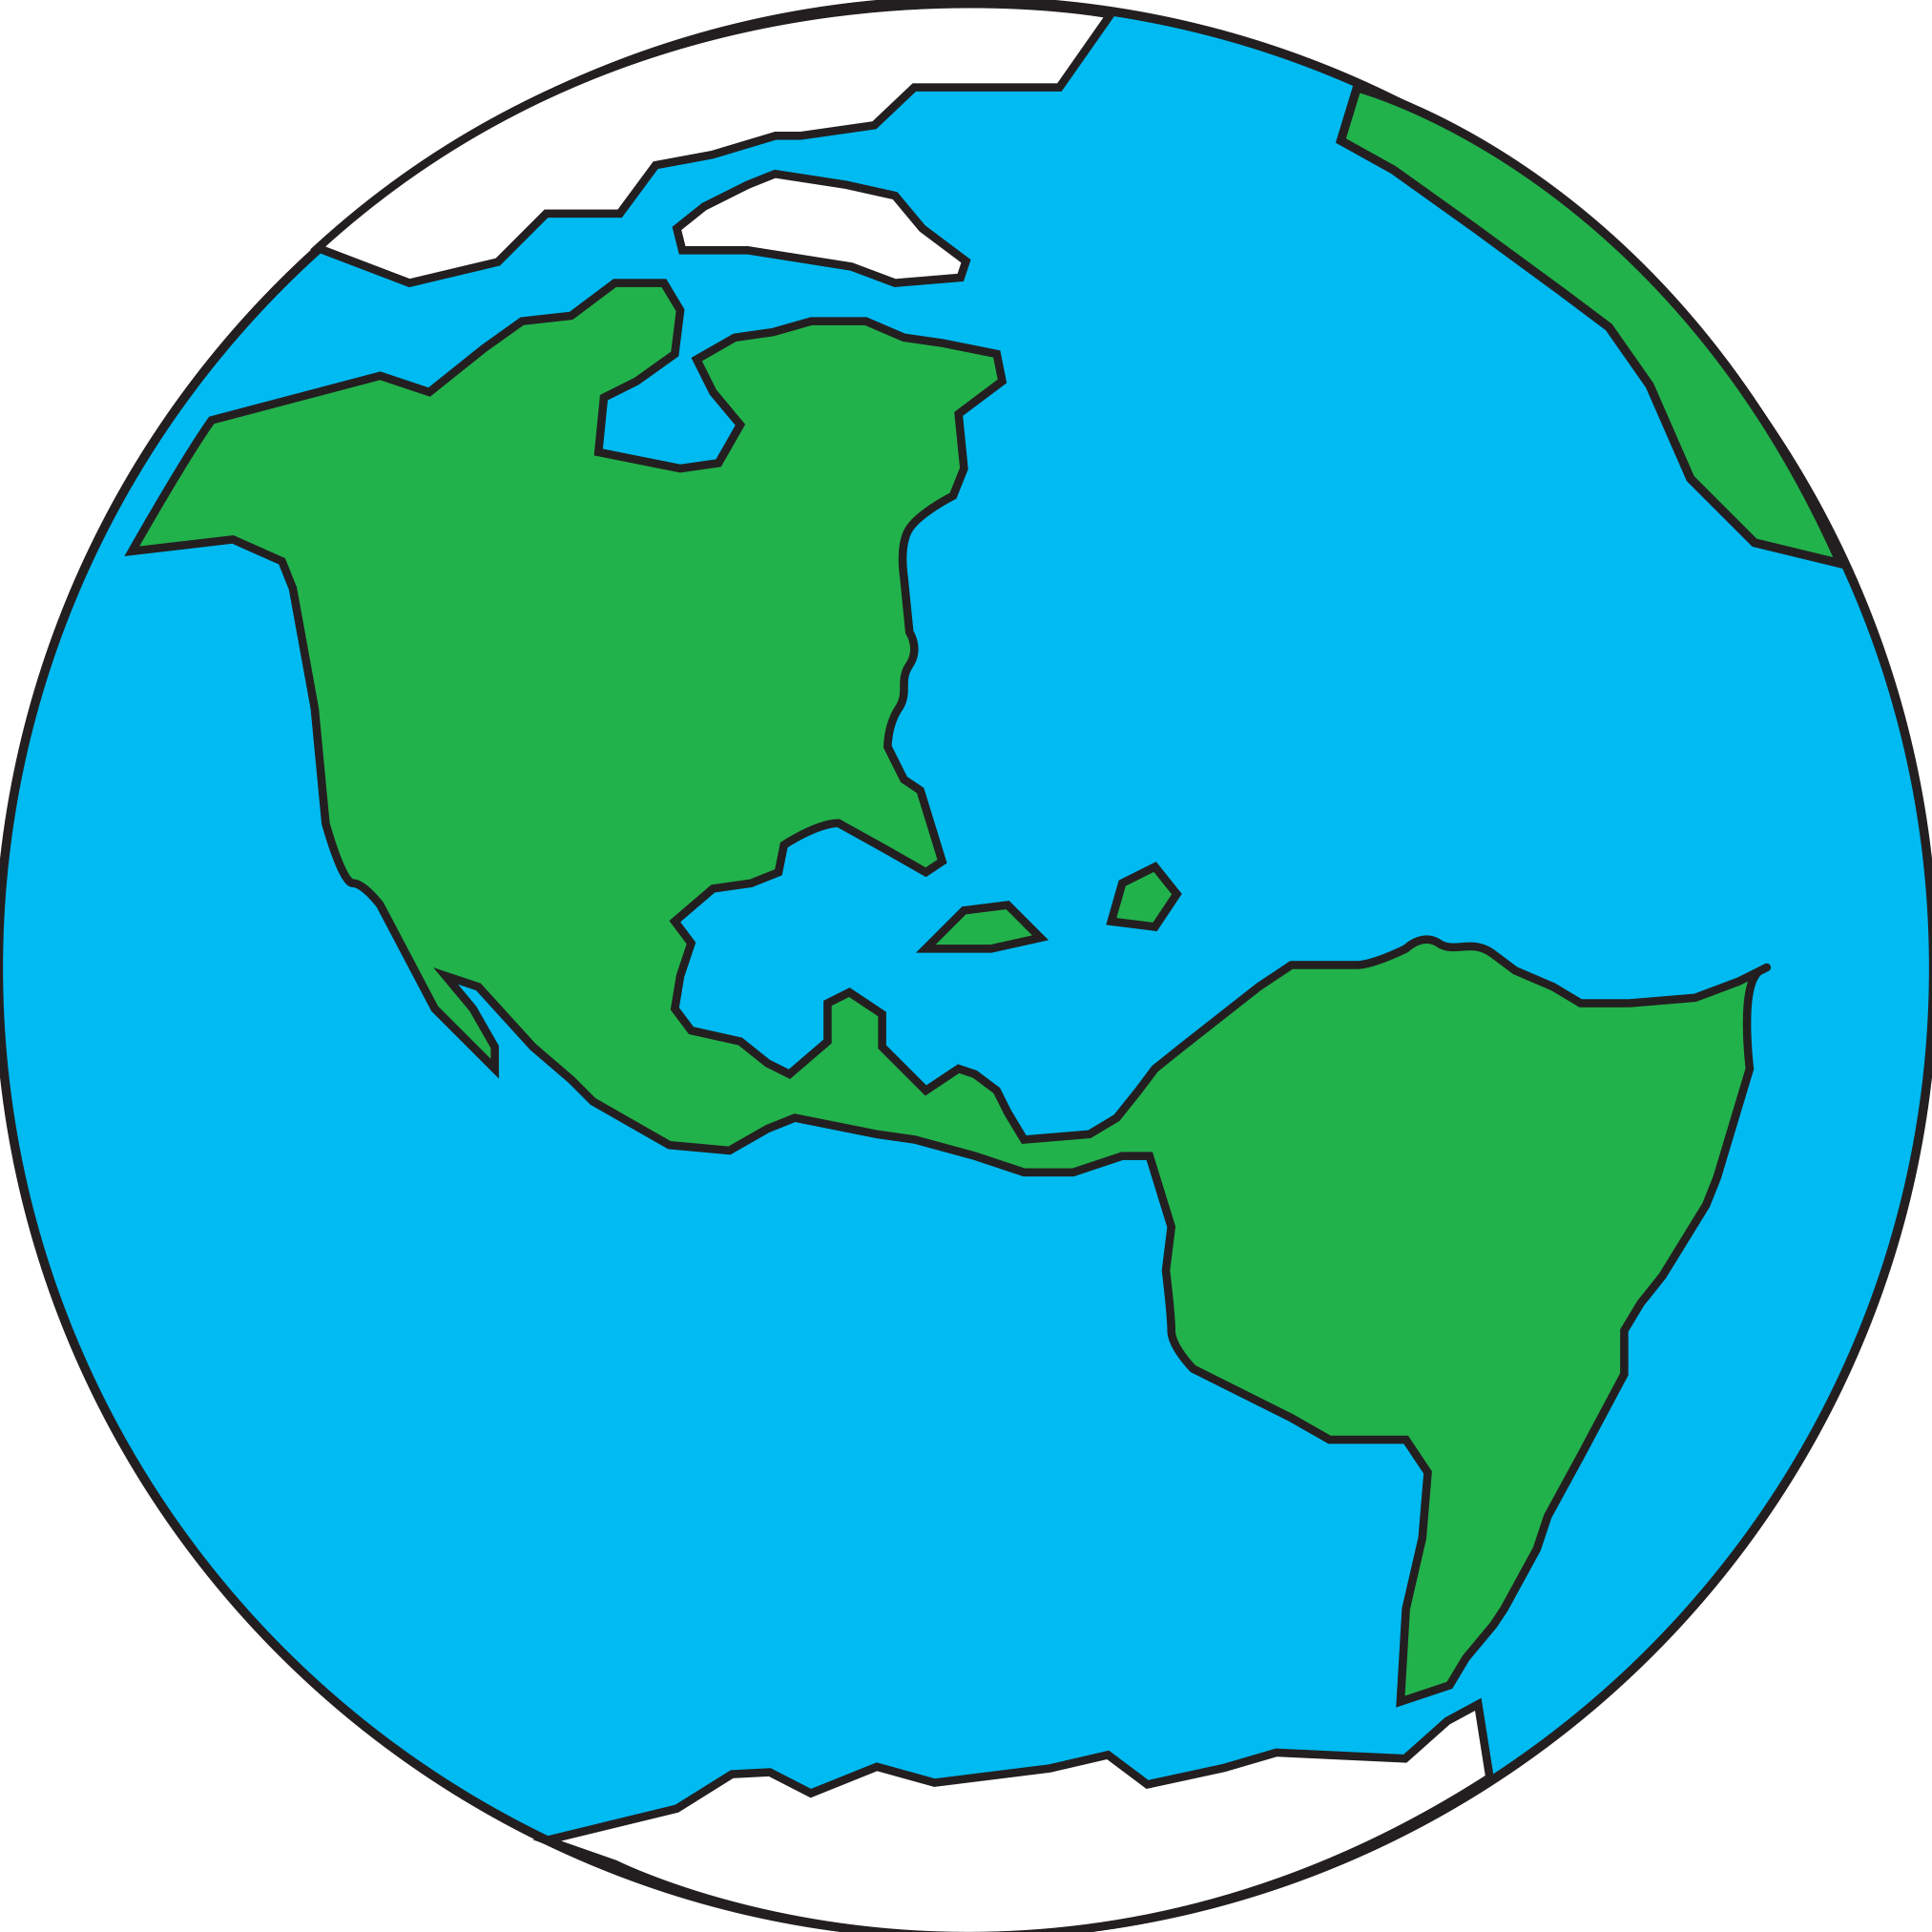
Americas
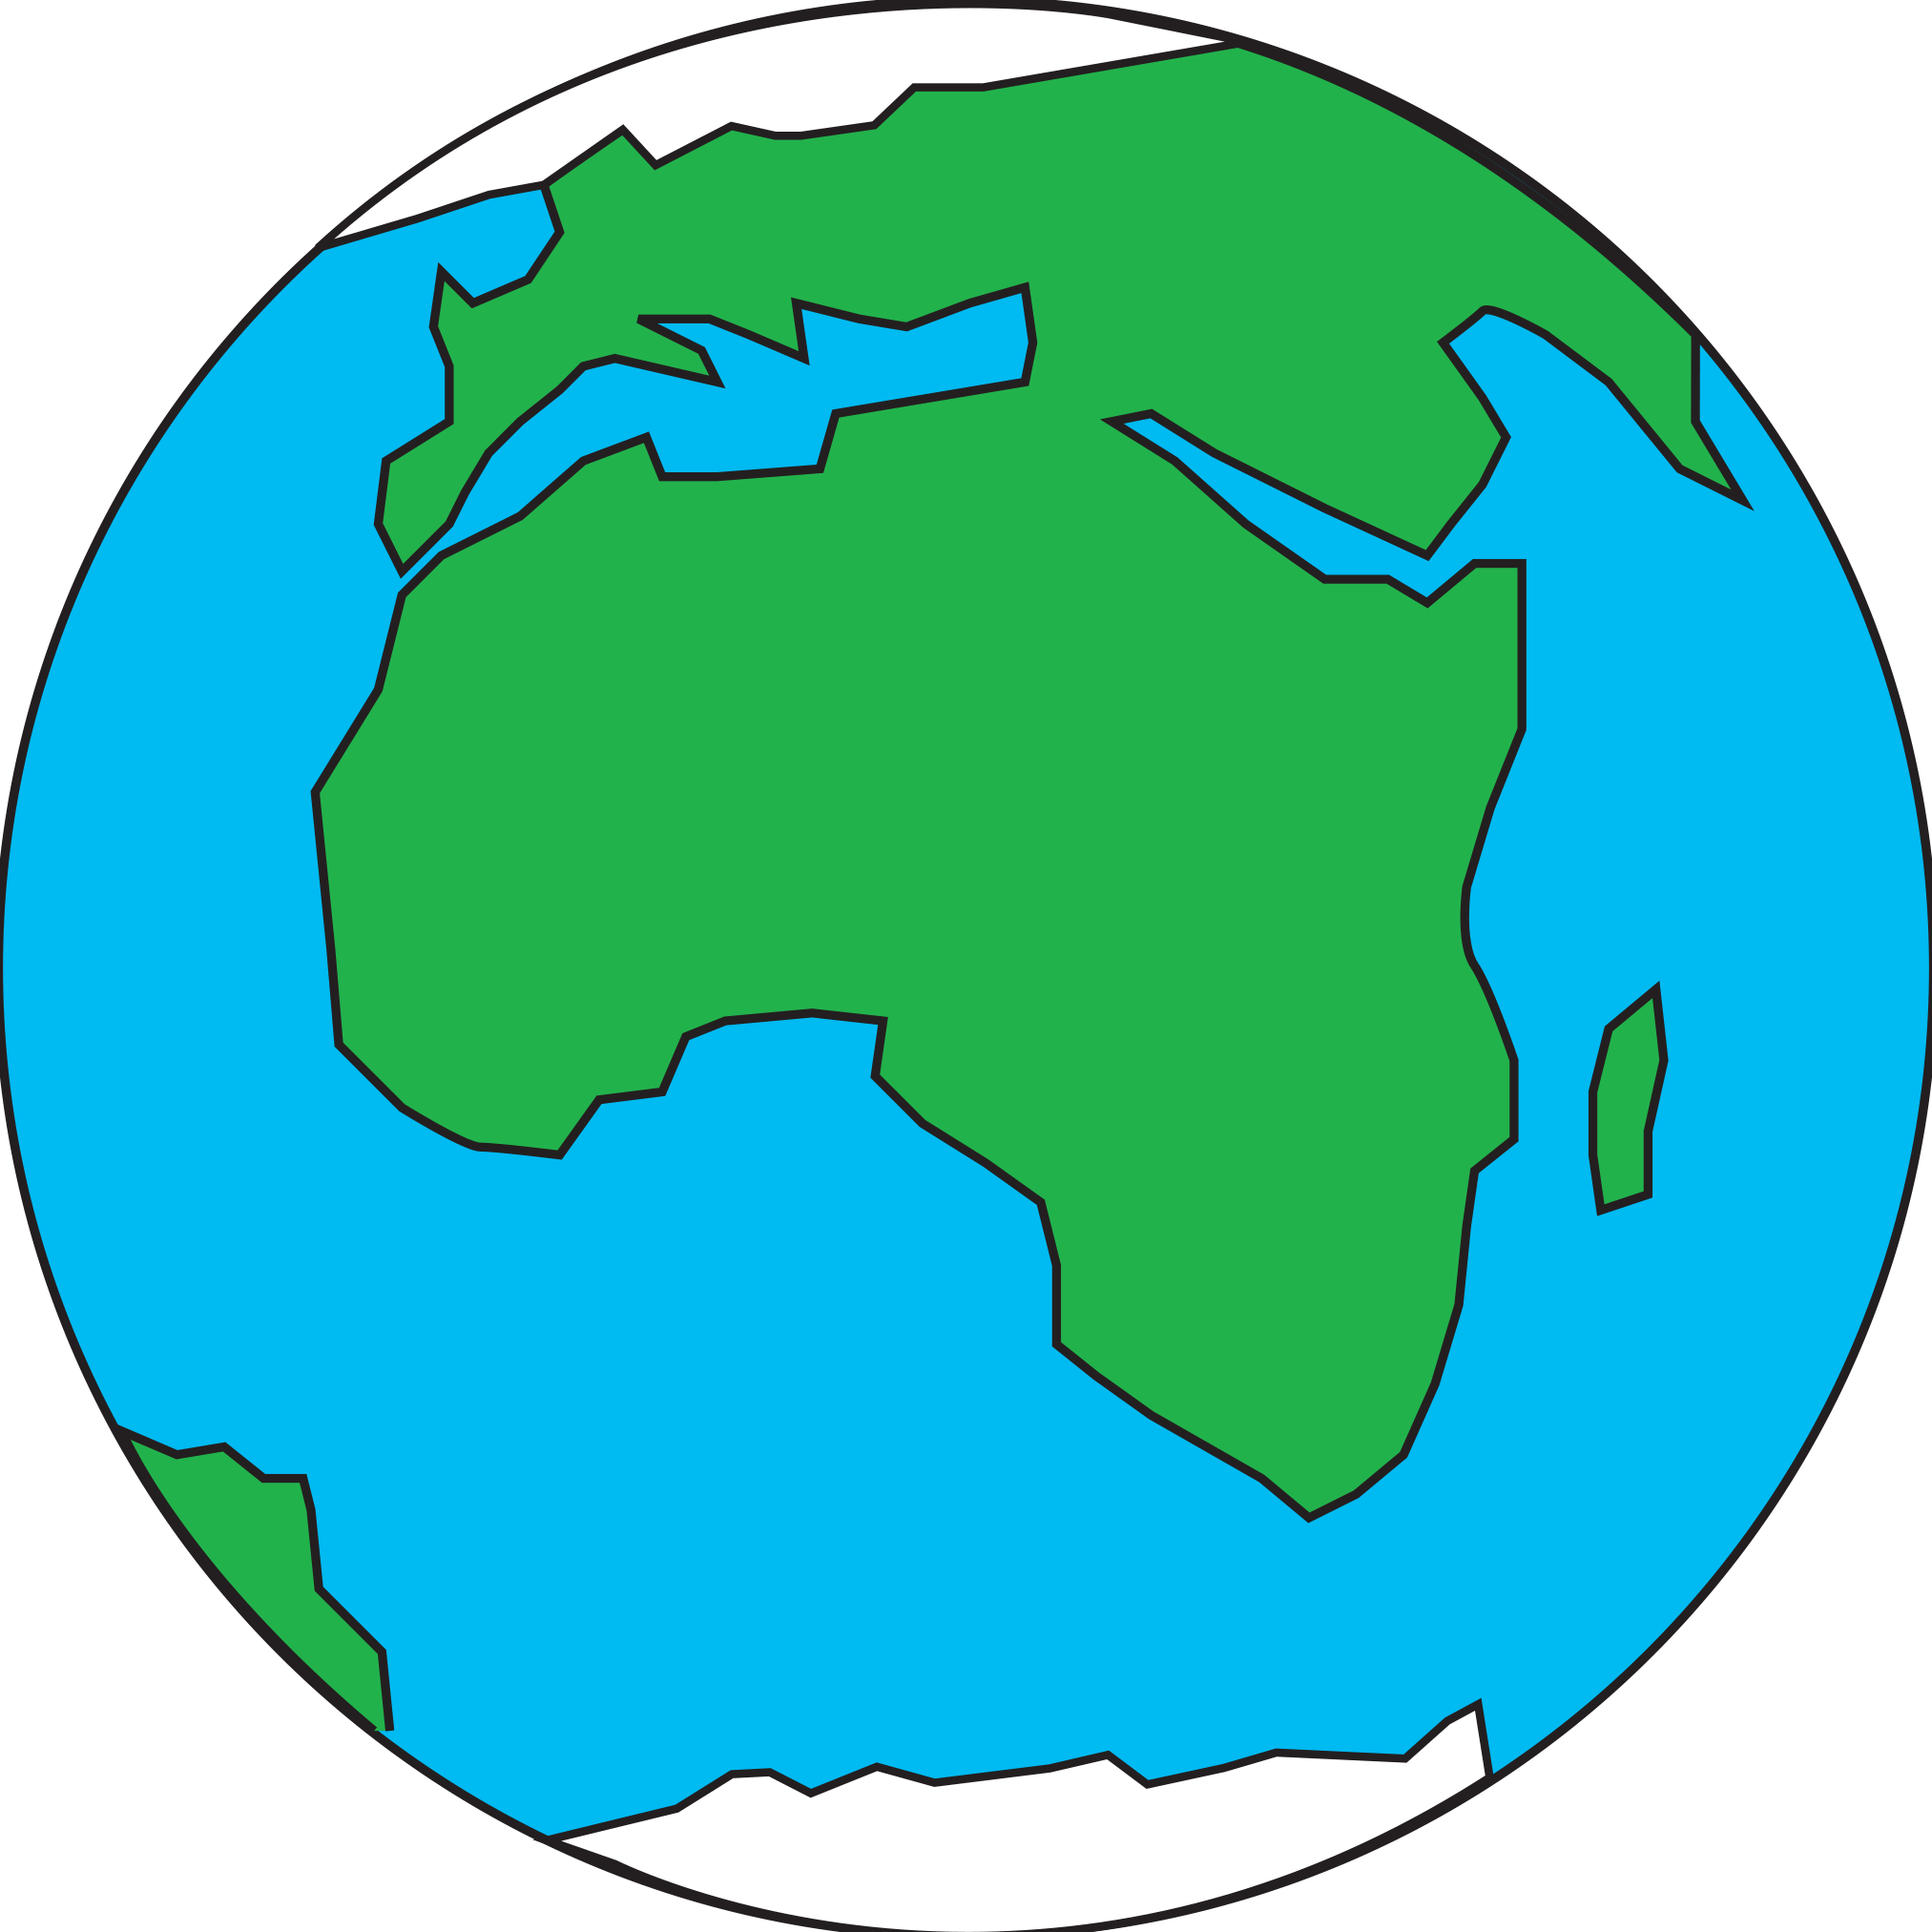
Europe and Africa
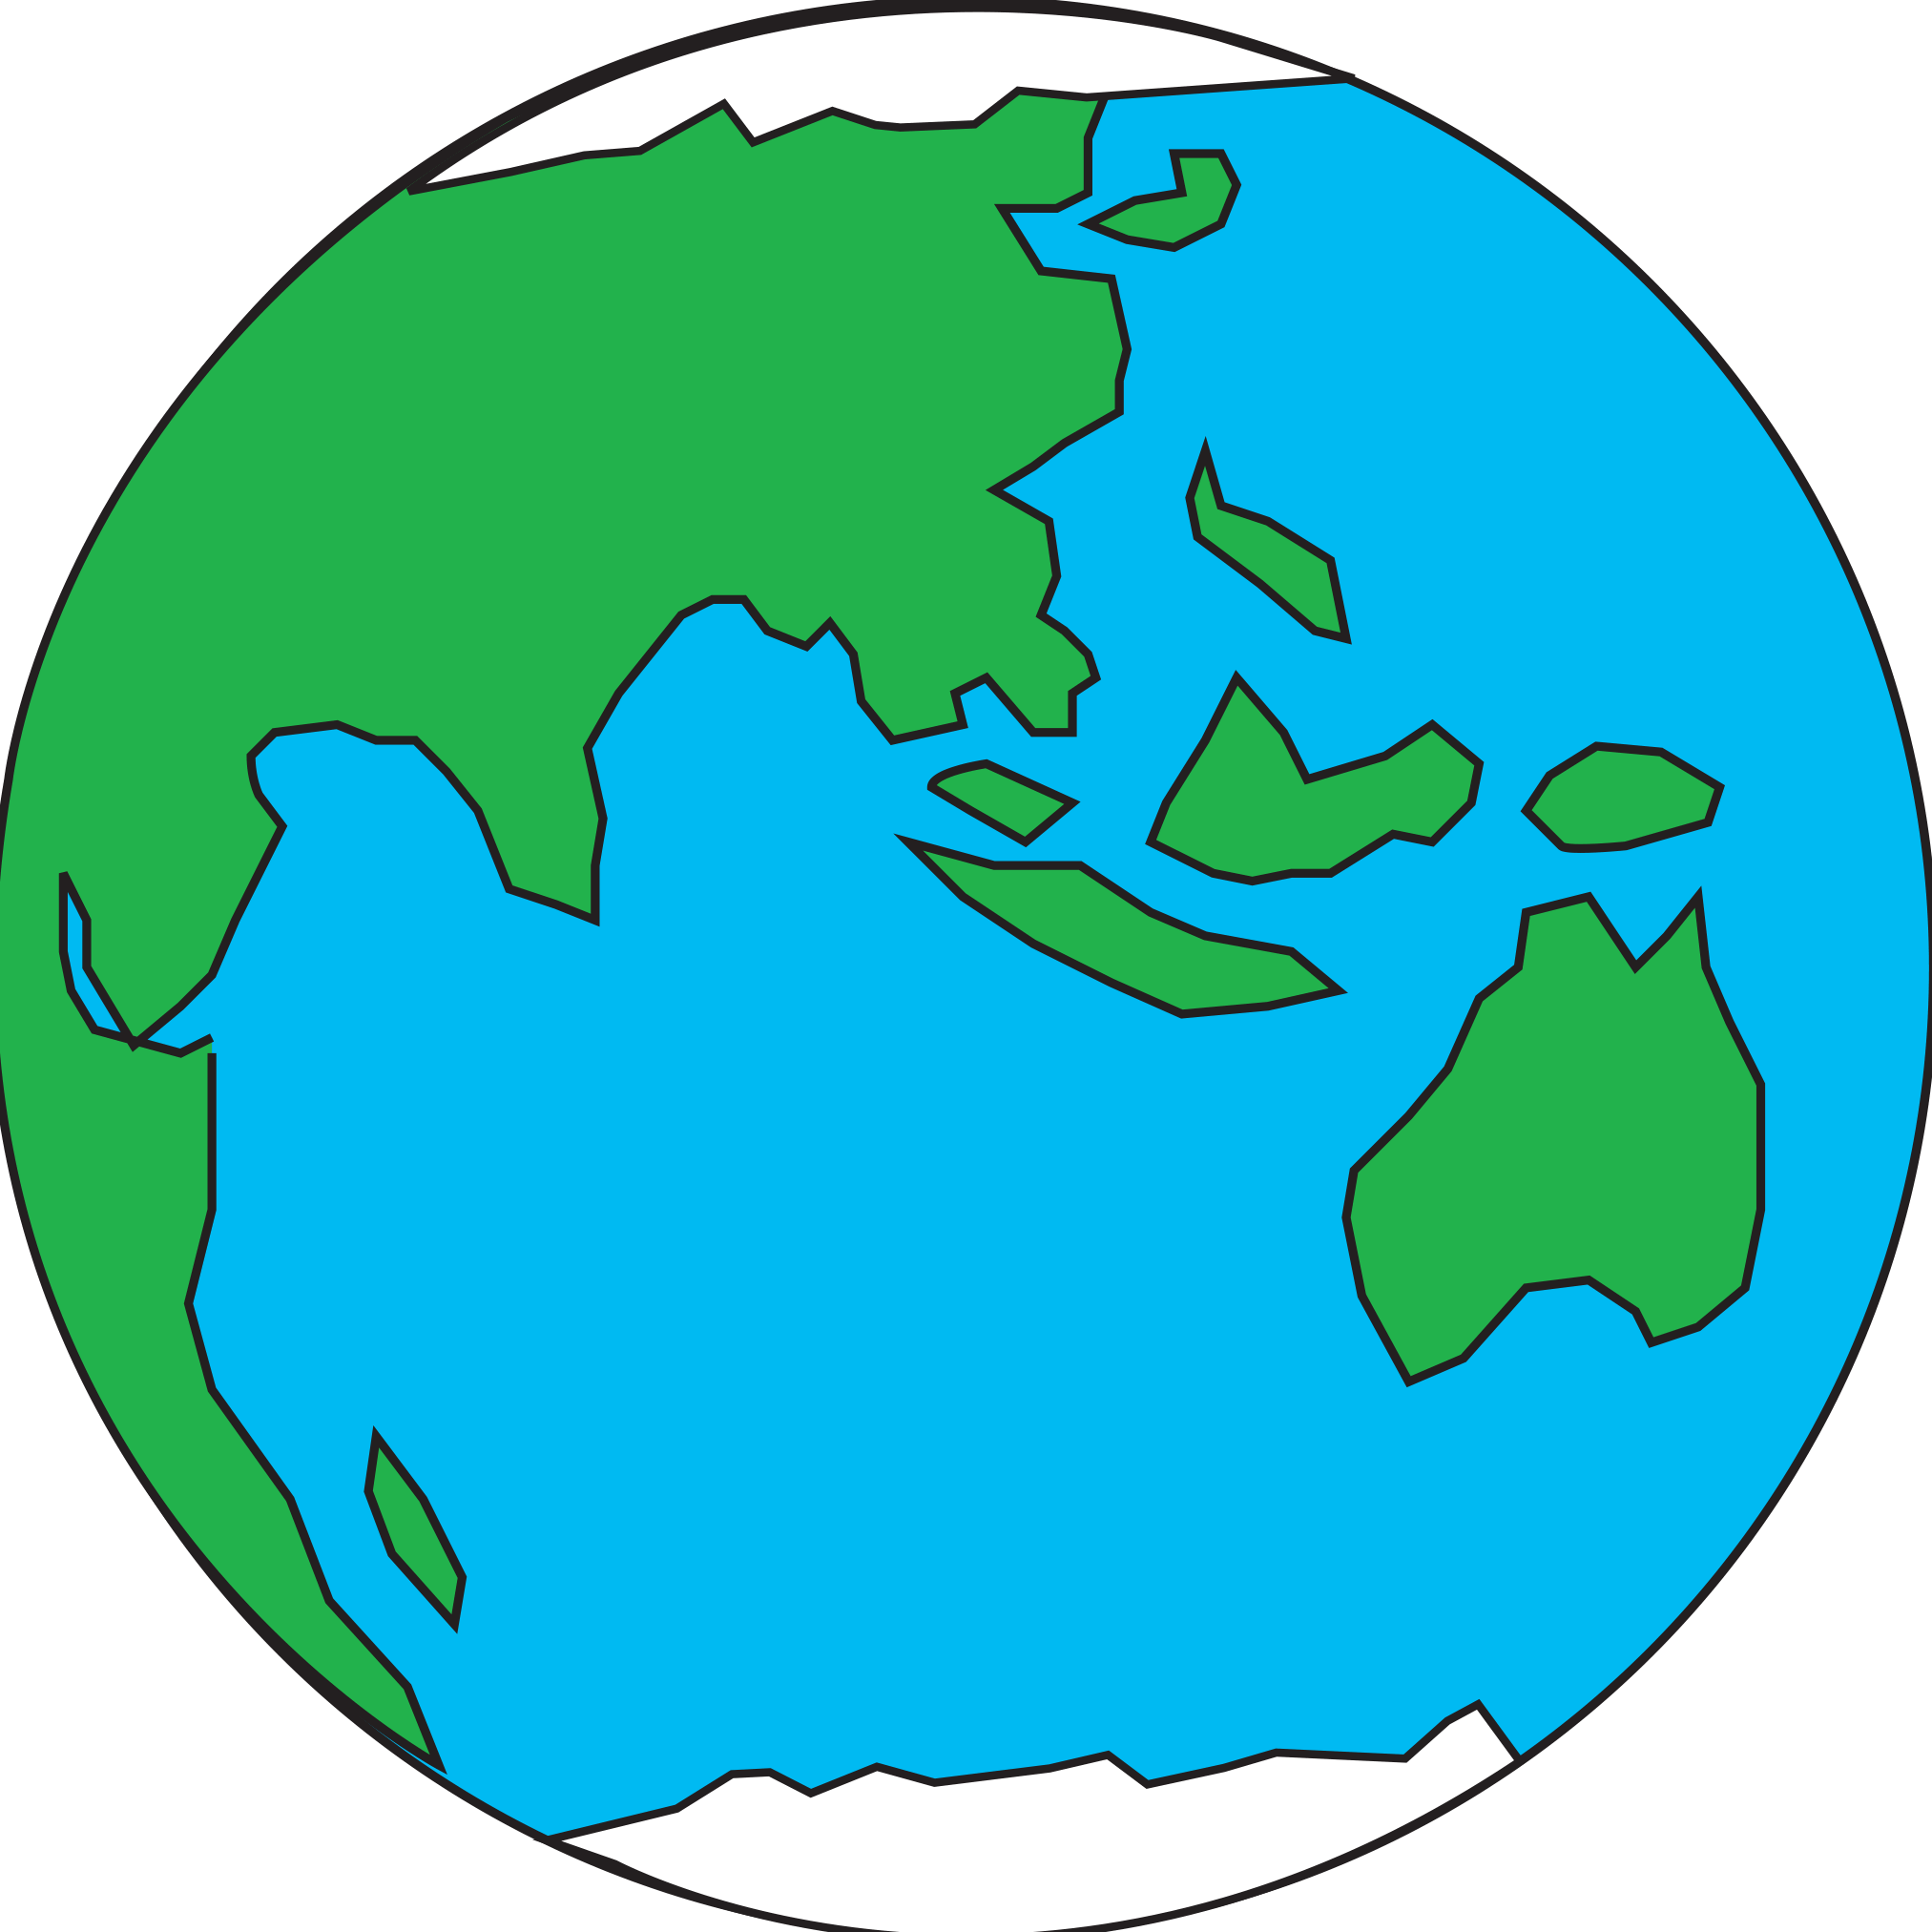
Asia